When it comes to achieving a flawless paint job, preparation is key. One critical step often overlooked is the application of primer over drywall mud, also known as joint compound.
Many DIY enthusiasts and even some professionals might be tempted to skip this step, hoping to save time or effort. However, painting directly over unprimed drywall mud can lead to a host of problems, from uneven colour and poor adhesion to increased paint consumption.
Understanding the role of primer and its impact on your project can save you from costly mistakes and ensure a smooth, long-lasting finish.
You might also read:
Can You Paint Over Wet Drywall Mud?
Painting over wet drywall mud is a tempting shortcut when you’re trying to speed up a project, but it’s important to understand the implications and potential problems that can arise. Let’s explore why waiting for drywall mud to dry completely before painting is crucial, along with tips on how to do it correctly.
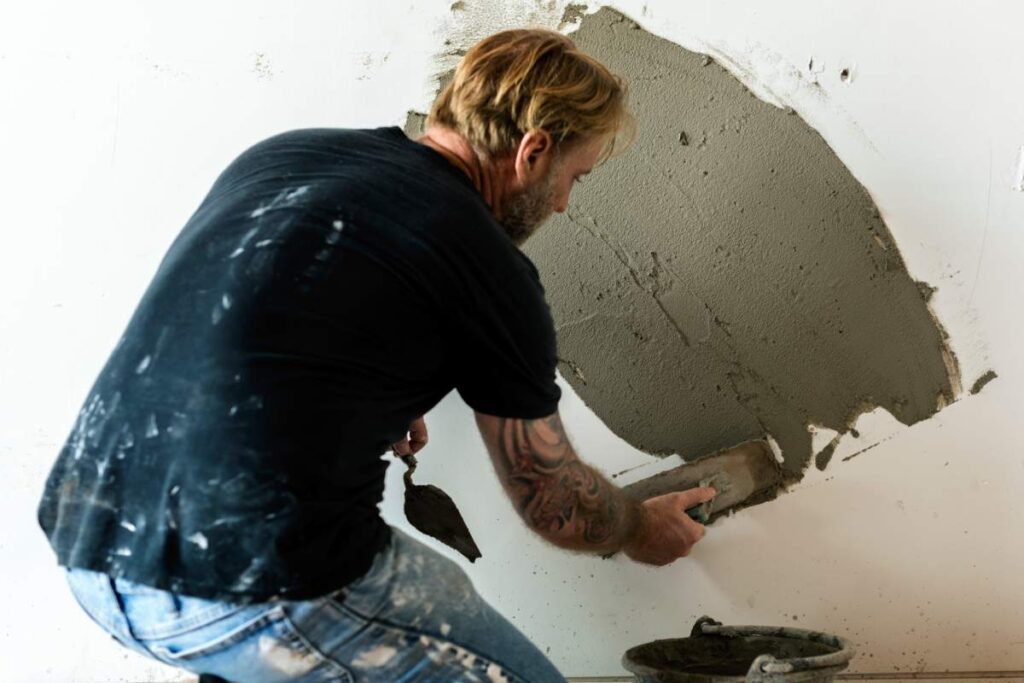
What is Drywall Mud?
Drywall mud, also known as joint compound, is a plaster-like substance used to fill in seams between drywall panels, cover screws, and smooth out any imperfections on the wall. It typically comes in two forms: pre-mixed (ready-to-use) or powder that you mix with water. The drying process involves water evaporating from the mud, leaving behind a solid, smooth surface ready for painting.
Why You Shouldn’t Paint Over Wet Drywall Mud
1. Poor Adhesion
Paint needs a solid, dry surface to adhere properly. If you paint over wet drywall mud, the paint may not stick well, leading to peeling or flaking down the road. This happens because the water in the wet mud prevents the paint from bonding properly to the surface.
2. Uneven Finish
Wet drywall mud can lead to an uneven paint job. The paint may absorb differently in areas where the mud is still drying, resulting in patchy or blotchy spots on the wall. These inconsistencies are often noticeable and can ruin the appearance of your finished wall.
3. Extended Drying Time
When you apply paint over wet drywall mud, you trap moisture between the layers of mud and paint. This can significantly extend the drying time, which might lead to other issues like mould growth, especially in humid environments.
4. Potential Cracking
As drywall mud dries, it shrinks slightly. If you paint over it while it’s still wet, the shrinking process can cause the paint to crack or wrinkle, leaving an unsightly finish that may require redoing the entire job.
How Long Should You Wait?
The drying time for drywall mud can vary depending on factors like the type of mud used, the thickness of the application, and the environmental conditions in the room (temperature and humidity). Typically, you should wait 24 hours for the mud to dry completely.
However, thicker applications may require more time. Using a fan or dehumidifier in the room can help speed up the process.
Tips for a Perfect Paint Job
- Check Dryness: Make sure the drywall mud is completely dry before painting. You can test this by gently pressing on the mud; if it feels cool or soft, it’s not ready yet.
- Sanding: Once the mud is dry, lightly sand the area to smooth out any rough spots. This will help you achieve a smooth, even paint finish.
- Priming: Before applying paint, use a primer on the drywall. This seals the surface, ensuring better paint adhesion and a more uniform finish.
- Patience Pays Off: It might be frustrating to wait, especially if you’re eager to finish your project, but allowing the drywall mud to dry fully will save you time and effort in the long run.
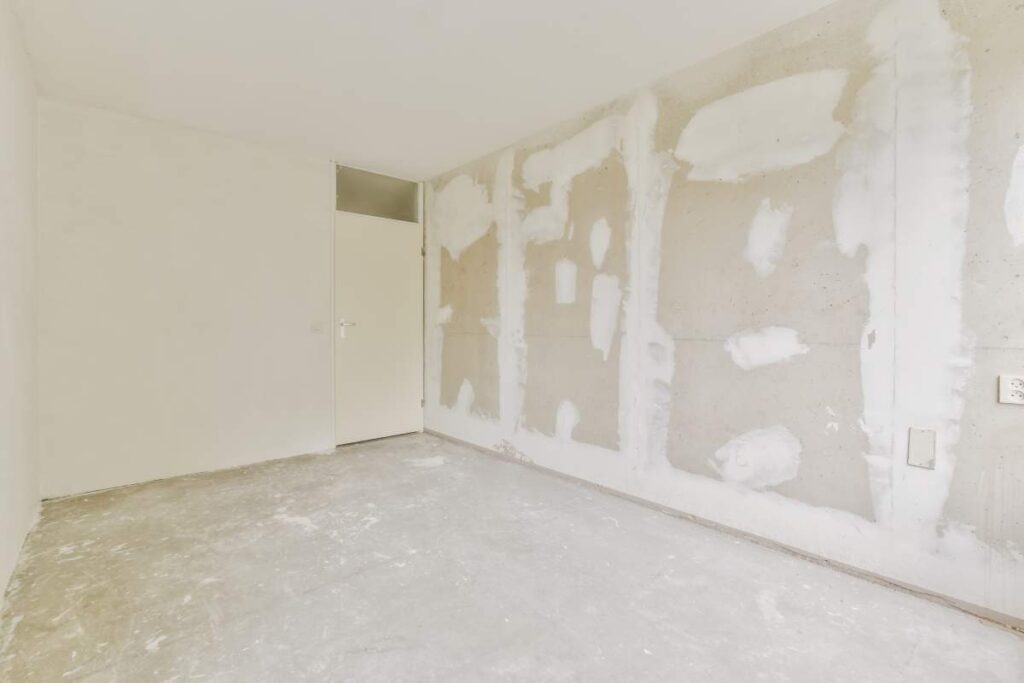
How to Prep the Drywall Mud Before Painting?
Preparing a mud wall before painting is crucial for achieving a smooth and durable finish. Here’s a straightforward guide to ensure your wall is ready for paint:
1. Allow the Mud to Dry
Before anything else, make sure the drywall mud (joint compound) is completely dry. This usually takes about 24 hours, but it may vary based on the thickness of the mud and environmental conditions like temperature and humidity. Check that the mud feels dry to the touch and is no longer cool or soft.
2. Sand the Surface
Once the mud is dry, sanding is essential to create a smooth surface. Follow these steps:
- Use the Right Sandpaper: Start with medium-grit sandpaper (around 120-grit) to smooth out any ridges or bumps. Finish with fine-grit sandpaper (around 220-grit) for a smoother surface.
- Sand Evenly: Sand in a circular or back-and-forth motion to avoid creating gouges or uneven spots. Pay extra attention to corners and edges where mud may have built up.
- Dust Off: After sanding, wipe the wall with a damp cloth or sponge to remove dust. A clean surface ensures that the primer and paint adhere properly.
3. Apply a Primer
Priming is a key step to seal the drywall mud and ensure a uniform paint application:
- Choose the Right Primer: Use a high-quality drywall primer or an all-purpose primer suitable for your paint type. Some primers are designed specifically for new drywall or mud surfaces.
- Apply Evenly: Use a roller or brush to apply the primer evenly across the wall. Make sure to cover all the areas, including corners and edges. If you’re using a roller, work in small sections to maintain a wet edge and prevent lap marks.
- Allow to Dry: Follow the primer manufacturer’s instructions for drying time, usually around 1-2 hours. Some primers may require longer to fully dry, so be patient.
4. Check for Imperfections
After the primer has dried, inspect the wall for any imperfections:
- Spot Sand: If you notice any remaining bumps or imperfections, lightly sand those areas again and wipe off the dust.
- Fill Holes: For any small dents or holes, use a touch-up of drywall mud to fill them in. Allow this to dry, then sand smooth and apply primer again if necessary.
5. Tape and Protect
Before painting, protect areas you don’t want to get paint on:
- Use Painter’s Tape: Apply painter’s tape along edges where the wall meets trim, ceilings, or other surfaces. This helps create clean lines and prevents paint from getting on areas where it’s not wanted.
- Cover Floors and Furniture: Lay down drop cloths or plastic sheeting to protect your floors and any nearby furniture.
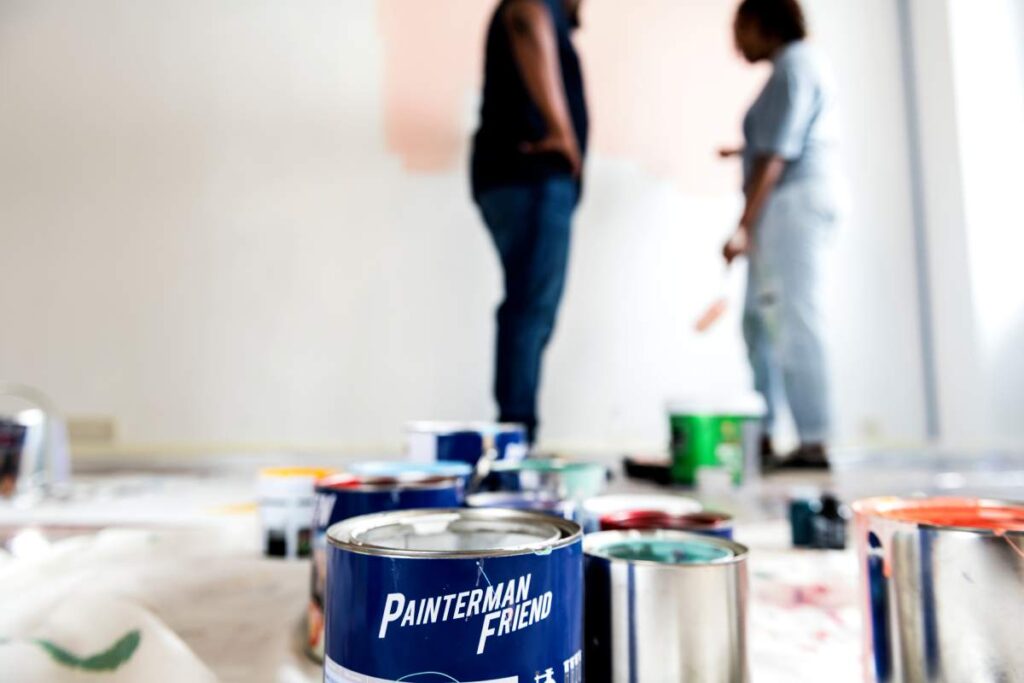
6. Prepare Your Paint
- Stir Thoroughly: Mix the paint well before use to ensure an even colour and consistency. Use a paint stirrer or stick to mix thoroughly.
- Test a Small Area: If you’re unsure about the paint colour or finish, test a small, inconspicuous area first to make sure it meets your expectations.
What Happens If You Paint Over Drywall Mud Without Primer?
Painting over drywall mud without applying primer can lead to several issues that affect the quality and durability of your paint job. Here’s what you might encounter:
1. Uneven Paint Absorption
Drywall mud, or joint compound, is porous and can absorb paint differently than the surrounding drywall or finished surfaces. Without primer, the paint might soak into the mud unevenly, leading to blotchy or patchy areas. The primer helps to seal the surface, ensuring an even and consistent paint finish.
2. Poor Paint Adhesion
The primer is designed to create a bonding layer between the surface and the paint. Without it, the paint may not adhere properly to the drywall mud. This can result in peeling, flaking, or chipping of the paint over time, especially in high-traffic or humid areas.
3. Increased Paint Usage
Without a primer, you might need to apply multiple coats of paint to achieve full coverage. Primers are formulated to cover imperfections and provide a uniform surface, which helps the paint go on more smoothly and efficiently. Skipping the primer could lead to higher paint consumption and increased costs.
4. Possible Color Issues
Primer helps to ensure that the paint colour appears as intended. Without it, the final colour may look different than expected due to the varying absorption rates of the drywall mud. This can lead to colour inconsistencies that are noticeable after the paint dries.
5. Long-Term Durability Concerns
Primer plays a role in improving the durability of the paint job. It helps to seal the surface and provides better adhesion, which contributes to the overall longevity of the paint. Without primer, the paint job may not last as long and may show signs of wear and tear sooner.
6. Increased Risk of Stains and Marks
Drywall mud without primer is more susceptible to stains and marks because it’s not sealed properly. Primer helps to create a protective barrier, reducing the likelihood of stains penetrating the surface. Without it, your paint job might show more wear and stains over time.
Conclusion
While it might seem like an extra step, applying primer over drywall mud is essential for achieving a professional-quality paint job. Primer helps to seal the surface, ensuring even paint absorption, better adhesion, and enhanced durability.
Skipping this crucial step can result in uneven coverage, increased paint usage, and potential long-term issues with your finish. For a smooth, consistent, and durable result, take the time to properly prime your drywall mud before painting.
If you’re feeling that painting is too overwhelming, we recommend you consult with PaintingAllSorts.com.au, with over 20 years of experience in the painting industry, they can tailor to all of your needs at the most reasonable price.